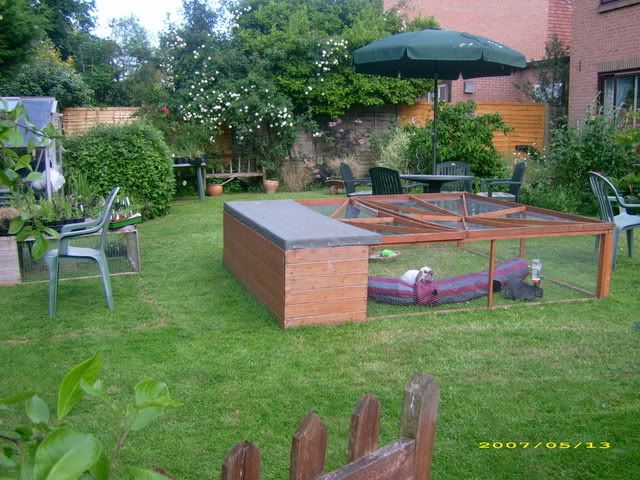
SO, we decided to make a tunnel to go from the run into the garden so the bunnies can go in and out as they please. If you're interested here's what we did (didn't think to start taking photos straight away so it kinda jumps in at the middle :?)
We started off with:
- 2 x 8" flower pots
- 4 x 2L coke bottles
- 4 x highland spring bottles
- some coarse grain sandpaper
- a lot of duct tape
- universal glue
Step 1
Cut the base off the flower pot, cut both ends off all the highland spring bottles, cut down the middle, tape two together into a large tunnel, cut to an angle and tape to the flower pot. Times two!

Step 2
Cut both ends off all the coke bottles, cut down the middle and tape 2 together. Reinforce the edges with duct tape.

Step 3
Cut 4 strips of sandpaper to fit the coke bottle length and punch lots of holes in them.

Step 4
Join 2 sandpapers together and tape to the inside of the coke bottles, punching holes in the coke bottles to match the holes in the sandpaper.

Step 5
Go back to the Step 1 unit and cut the flower pot at an angle to lie flush with the soil (eventually)

Step 6
Position the sandpaper inside the pot-bottle unit

Trace the outline of the curve on the sandpaper

Cut to fit and glue in (you might need to rub sandpaper over the bottles to give the glue a surface to stick onto).

Step 7
Use the lips of the flowerpots (removed in Step 5)...

...to reinforce the coke bottle units

Step 8
Stick the 2 reinforced coke bottle units together to make a long tunnel

Step 9
Introduce the unit made in Step 8 to your fuzzy friends to let them get used to it


Step 10
Tape the 2 flowerpot units to the coke bottle units to make an underground tunnel shape (don't have a photo of this yet as we're still on Step 9 but here's an "artist's impression" lol:

We started off with:
- 2 x 8" flower pots
- 4 x 2L coke bottles
- 4 x highland spring bottles
- some coarse grain sandpaper
- a lot of duct tape
- universal glue
Step 1
Cut the base off the flower pot, cut both ends off all the highland spring bottles, cut down the middle, tape two together into a large tunnel, cut to an angle and tape to the flower pot. Times two!
Step 2
Cut both ends off all the coke bottles, cut down the middle and tape 2 together. Reinforce the edges with duct tape.
Step 3
Cut 4 strips of sandpaper to fit the coke bottle length and punch lots of holes in them.
Step 4
Join 2 sandpapers together and tape to the inside of the coke bottles, punching holes in the coke bottles to match the holes in the sandpaper.
Step 5
Go back to the Step 1 unit and cut the flower pot at an angle to lie flush with the soil (eventually)
Step 6
Position the sandpaper inside the pot-bottle unit
Trace the outline of the curve on the sandpaper
Cut to fit and glue in (you might need to rub sandpaper over the bottles to give the glue a surface to stick onto).
Step 7
Use the lips of the flowerpots (removed in Step 5)...
...to reinforce the coke bottle units
Step 8
Stick the 2 reinforced coke bottle units together to make a long tunnel
Step 9
Introduce the unit made in Step 8 to your fuzzy friends to let them get used to it
Step 10
Tape the 2 flowerpot units to the coke bottle units to make an underground tunnel shape (don't have a photo of this yet as we're still on Step 9 but here's an "artist's impression" lol:
 I want catflap style shutters too, so I can manouver the buns into the run I want and can herd them in in the evening. Haven't quite got designs on paper yet, but image deffinitely in my head